


 Valheim
Import a map or world to your Valheim server
You started a Valheim game solo or with a few friends and now want to move this world to your nitroserv server?
Since Valheim 1.0, a world is no longer a pair of files: it's a complete folder. Just retrieve this folder, send it from the Files tab of the nitroserv Manager, then tell the server which world to load on startup (tadam 🎉).
I'll rent one and follow the rest of the tutorial right after!
Quick answer
To import your Valheim world:
- stop your server;
- on your computer, retrieve your world folder from
worlds_local(for exampleMyWorld); - in the nitroserv Manager, open Files then navigate to
.config/unity3d/IronGate/Valheim/worlds_local/; - send the complete folder of your world, with all the files it contains;
- open the Dashboard tab;
- in the Information box, click Edit;
- enter the folder name in Map / World;
- save then start your server (done)
For example, if your folder is called MyWorld, simply enter MyWorld in Map / World.
What does a Valheim world look like since 1.0?
Before 1.0, a world consisted of two files, MyWorld.db and MyWorld.fwl. Since 1.0, it's a folder MyWorld that contains:
_main.N.fwl2: world information (name, seed);_main.N.db2: global data;_main.N.chunksand many.chunkfiles: the world divided by zones, with your constructions;_main.N.ok: a small marker confirming that the last save is complete.
The number N increases with each game save. You must always move the entire folder: without the .chunk files, your world is empty.
Step 1: stop your server
If your server is running, stop it from your nitroserv Manager and wait for it to be clearly indicated as Offline in the top left.
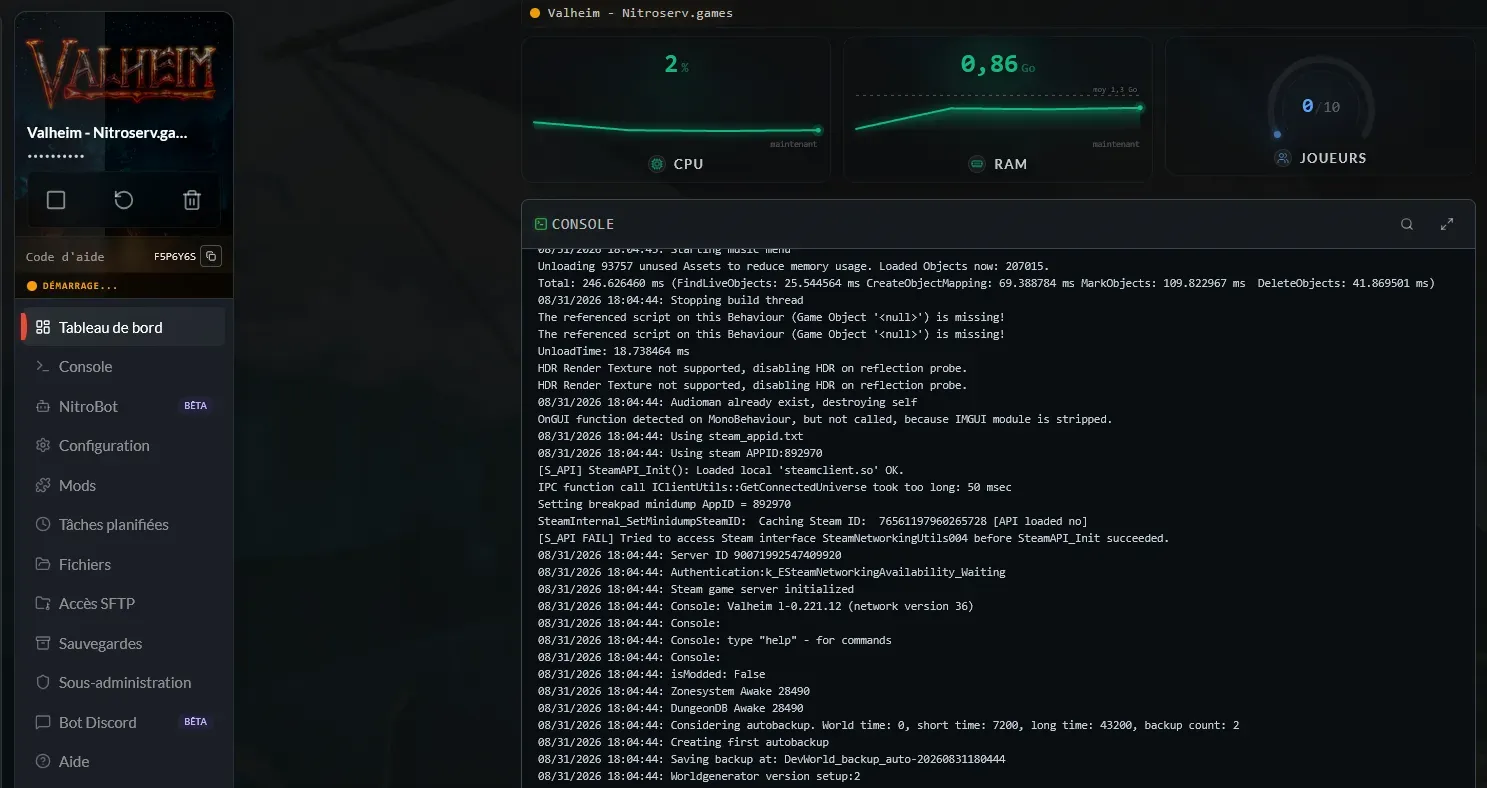
For the rest of the import, keep your server stopped: Valheim writes to the worlds folder every 30 minutes, and a transfer while it's running can damage your save.
Step 2: find your world on your computer
On Windows, your Valheim worlds are located in %USERPROFILE%\AppData\LocalLow\IronGate\Valheim\worlds_local\. This folder is hidden: enable the display of hidden items in the explorer if you don't see it.
Each world is a subfolder with its name, for example MyWorld. This is the complete folder you'll send.
Your world doesn't appear in worlds_local?
It's probably saved in the Steam Cloud.
From Valheim:
- open your save management with Manage Saves;
- select your world;
- choose Move to Local;
- then close the game properly.
You should then find its folder in worlds_local.
Step 3: send your world from the nitroserv Manager
With your server still stopped:
open the Files tab of the nitroserv Manager;
navigate to
.config/unity3d/IronGate/Valheim/worlds_local/, at the end of the Files tab URL;drag and drop your world folder into the window, or click Transfer and select all files in the folder. If you prefer SFTP (credentials in SFTP Access), send the folder as is.
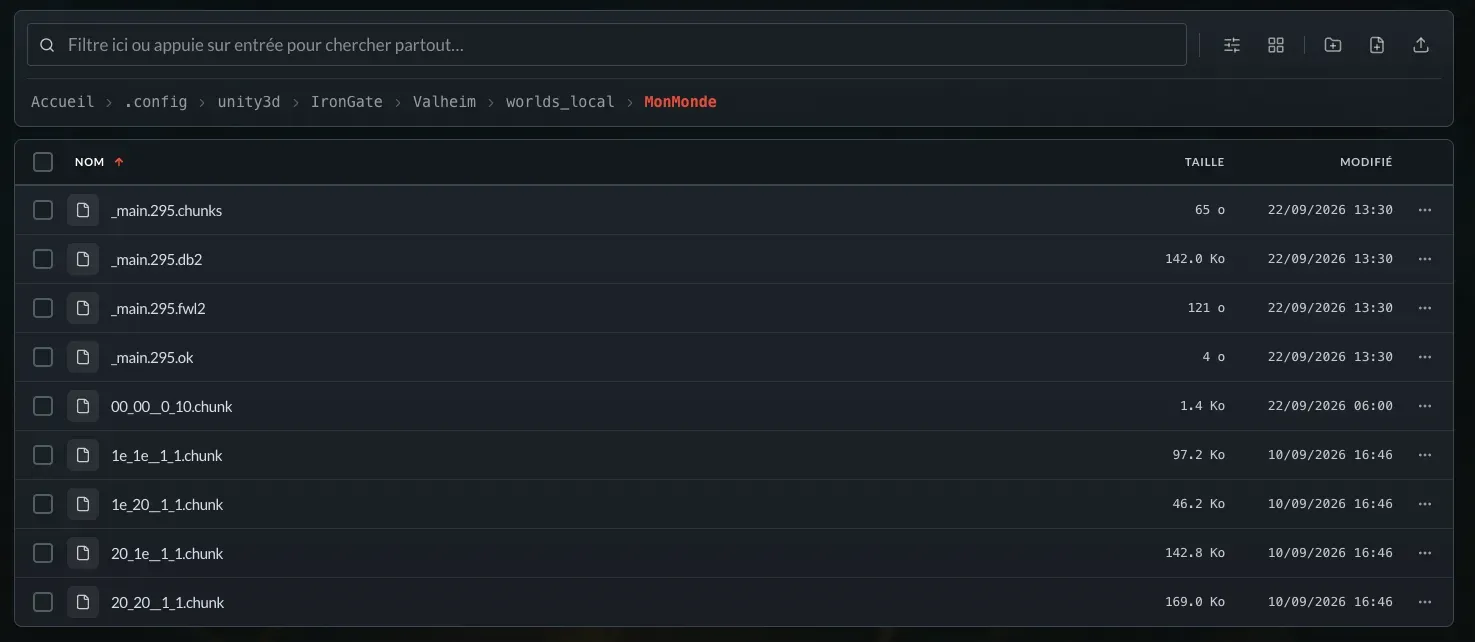
You should therefore find a MyWorld folder in worlds_local, with the _main.N.* files and all the .chunk files inside.
If a MyWorld folder already existed on the server (for example a blank world created by a first startup), delete it before sending yours: don't mix the two.
Step 4: tell the server which world to load
Once the folder is sent:
go back to the Dashboard tab;
locate the Information box, in the top right;
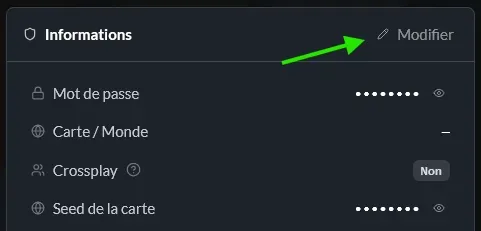
click Edit;
in the Map / World field, enter the exact name of the folder, respecting uppercase and numbers;
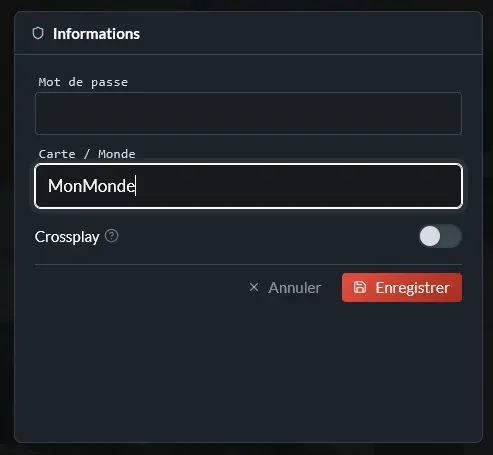
validate the change.
If your folder is called MyWorld, simply enter: MyWorld
Step 5: start your server
All that's left is to start your server.
Once online, connect and verify that you find your old world, your constructions and your progress.
And there you go: no command line, no ritual sacrifice to Odin.
Do you still have an old world in .db and .fwl?
If your save is from before 1.0, you have two files MyWorld.db and MyWorld.fwl instead of a folder. Send these two files to worlds_local, server stopped, making sure no MyWorld folder already exists next to them. On first startup, the server converts your world to the new format automatically.
What if I want to retrieve my world from the server?
The process also works the other way around.
Stop your server, open Files or your SFTP client, navigate to .config/unity3d/IronGate/Valheim/worlds_local/, then download the complete folder of your world.
You can then place it back in the worlds_local folder on your computer: it will appear in the game's world list.
What if my server generates a new empty world?
Verify that:
- you sent the complete folder, with its
.chunkfiles; - it is located directly in
worlds_local(not in a subfolder); - the Map / World field matches exactly the folder name, including uppercase and numbers;
- the transfer was complete before the server started;
- you didn't rename the folder manually: the world name is also written inside the files. To change the name visible to your players, modify the server name instead.
Need help?
If your old world doesn't load, if the server generates a new map or if it doesn't restart correctly after the import, we're available on our Discord or via our Twitter account!
You can also contact us by ticket directly from your Manager.


