


 Minecraft
Installing mods is only possible with the Gold offer, the Cobble offer only supports plugins.
1. Choose and install the correct version of the modloader
Go to your server panel.
In the version selection, choose the desired modded server type: Forge, Fabric, or NeoForge as well as the Minecraft version.
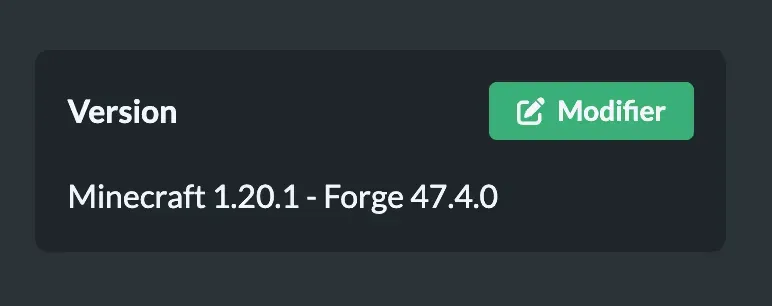
Start and stop the server to create the files.
2. Access the server files via FTP
Connect to your server via FileZilla, see the "FTP Access" tab.
Use the credentials created in your panel to connect.
Access the "mods" folder located in the "minecraft" folder.
3. Add your mods
Download the .jar files of the desired mods from a reliable site (e.g. CurseForge).
Drag and drop the files into the mods folder of your server via FTP.
Ensure that all mods are compatible with each other and with the version of Minecraft/modloader you are using and that you do not add client-side mods such as: OptiFine / Sodium / Iris Shaders / Inventory HUD+ / Sound Physics Remastered for example.
4. Restart the server
Return to your panel.
Click on Start the server.
Wait for the server to fully restart.
Reminder: These mods must be installed in the mods folder of your local Minecraft or your CurseForge instance
Missing a version of Forge/Fabric/NeoForge? Make a request on our Discord or open a ticket.


