Time required: 10 minutes.
This step-by-step tutorial allows you to add your map to a Valheim server and is done from the Nitroserv manager interface, but it can also be applied to all Valheim servers based on Linux.
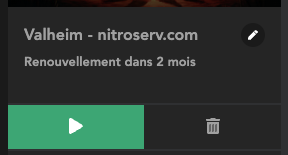
- Start the server
- To import your map correctly, you must already start your server for the first time.
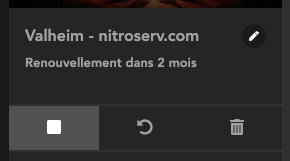
- Stop the server
- Once it is successfully started and online (green dot), you can turn it off
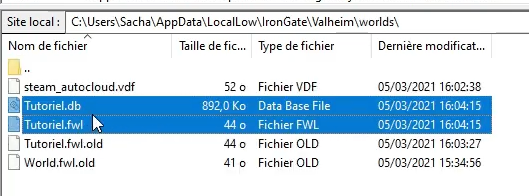
- Locate your card on your local computer
- Go to the “C:\Users\PSEUDO\AppData\LocalLow\IronGate\Valheim\worlds” folder (replace “NICKNAME” with the name of the session) on your computer. In this folder, you will have several files that have the name of the world you created
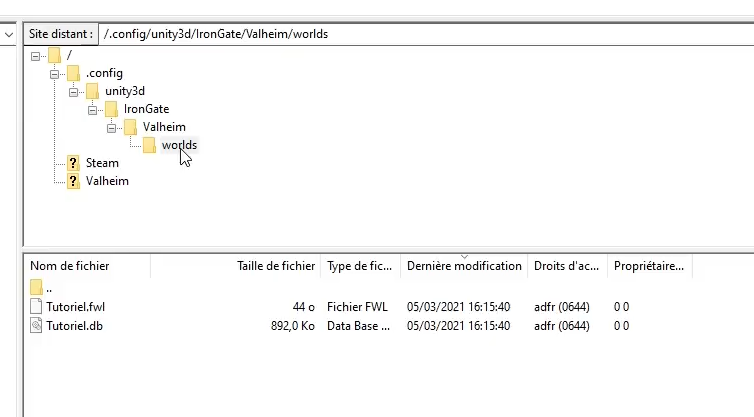
- Connect to the server's FTP
- Connect to FTP (this tool allows you to see and edit files on your server) then navigate to the folder: .config/unity3d/irongate/valheim/worlds_local (if the folder is not visible, you must show the hidden folders in the software).

- Send the map to the server
- Send all the files that have the name of the world in this folder (normally a .fwl file and a .db file).
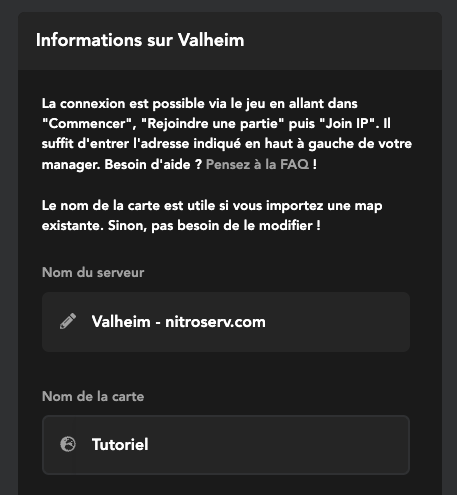
- Change the card name in the Nitroserv manager
- Change the “card name” on the manager's home page. You must match this field to the name of the map you sent to the FTP (ex: if you sent files called MyWorld.fwl, put “MyWorld” in the “map name” field)
PS: To retrieve your map, it's the same trick, but in the opposite direction!
Discover our Valheim offer & join us on our Discord !